We may earn a commission from links on this page.
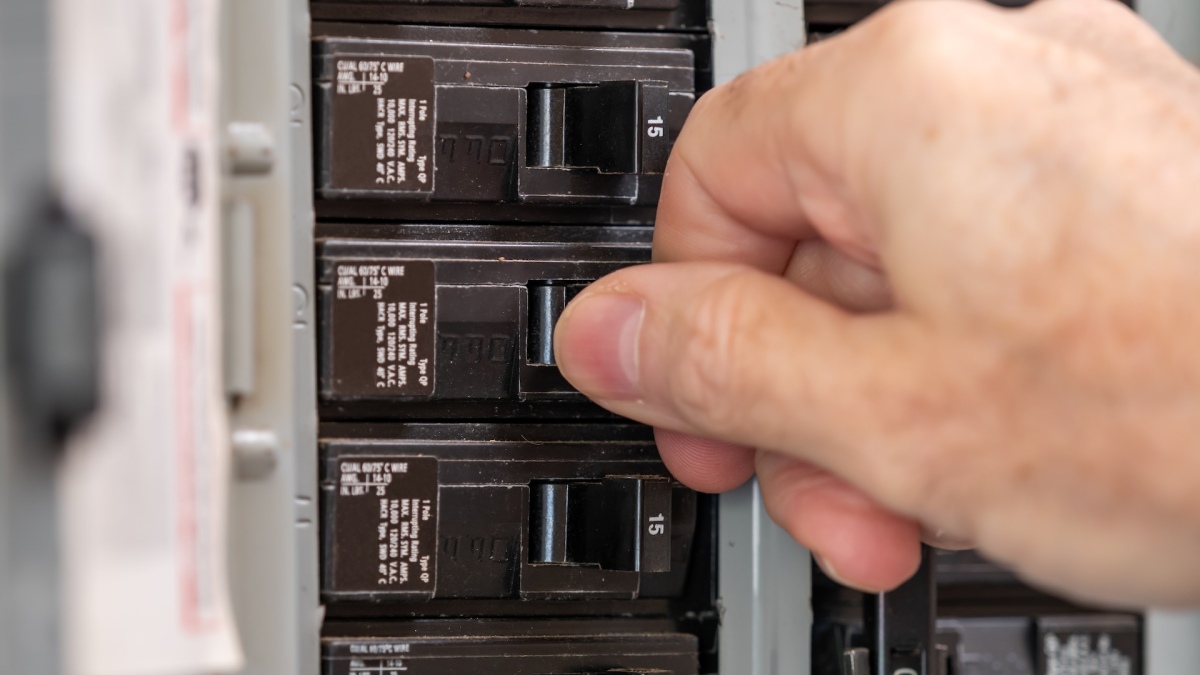
Moving into a new house can be both an exciting adventure and a daunting mystery. You’re entering a space full of unknowns, some of which only become apparent once you’re settled in. We try to reduce these unknowns with home inspections and maintenance checklists, but there’s one mystery many homeowners overlook until it’s too late: labeling your circuit breakers.
The worst time to figure out which breaker controls what is during an emergency. Clearly labeled breakers save time and effort during maintenance or repairs and may even be required by local building codes. If your breaker panel remains a mystery, take the time today to label everything.
Start with a floor plan
First, create a floor plan of your home with outlets and light fixtures marked. This doesn’t need to be fancy—a rough hand-drawn sketch works as well as a computer-generated file. Include each room and label them descriptively but generically—turn “Billy’s room” into “Southwest bedroom,” for example. Mark every outlet, switch, and fixture, giving each a unique identifier. Paste this inside the panel door to help anyone quickly cross-reference the breaker labels with the house layout.
Drill down to the outlets
Next, map specific outlets and switches to the breakers by going room-to-room. You can approach this step in a few ways:
With a partner. Have someone turn off each breaker one at a time while you check outlets for power. Confirm by turning the breaker back on to ensure those outlets are powered. An outlet tester can make this safer and easier, but a nightlight will also work.
By yourself. Without a partner, plug in something audible like a radio, turn off breakers methodically, and note when the sound stops. Alternatively, use a circuit breaker finder, which involves plugging a transmitter into an outlet and using a scanning wand over the breakers to identify the connected one.
When you identify an outlet to a breaker, note it on both the label next to the breaker and your floor plan. This simplifies resetting or turning off breakers when needed.
If breakers don’t seem connected to anything, leave them off. Check whether they connect to the house infrastructure—such as the furnace, water heater, or HVAC system (often require larger, “double” breakers) or outdoor lighting. If unsure, leave it off and consult an electrician.
Label wall plates
As you check outlets and switches in each room, remove the wall plates and write the label on the back before replacing them. This provides an extra layer of information—useful if replacing an outlet as it shows which breaker needs to be turned off—and safety. If labels don’t match, something went wrong, and you should repeat the mapping process to correct it.
Keep a separate record
Consider maintaining a separate written record. A photo of your labeled panel and floor plan will do, but a handwritten chart kept in your home maintenance binder or a spreadsheet in the cloud is even better. Spreadsheets are easily updated and shared with contractors, providing them with the necessary information before arrival.
Apps can also help map your breaker panel efficiently. Breaker Box, available for Android and Apple phones, makes it easy to create a custom breaker panel legend, which you can then size to fit your panel and print out.

