
We may earn a commission from links on this page.
Unless there’s a significant safety issue, upgrades are generally required during inspections, usually when renovating or making major repairs. Thus, it’s not surprising that many older homes still have two-prong ungrounded outlets. If your home has these, you should consider upgrading to modern three-prong outlets. Though you might think this requires an electrician, if you’re moderately handy, it’s a project you can handle easily and inexpensively. Upgrading is important because two-prong outlets lack a ground wire, which protects against electric shock during a voltage surge and guards the house and appliances against damage.
Materials you’ll need:
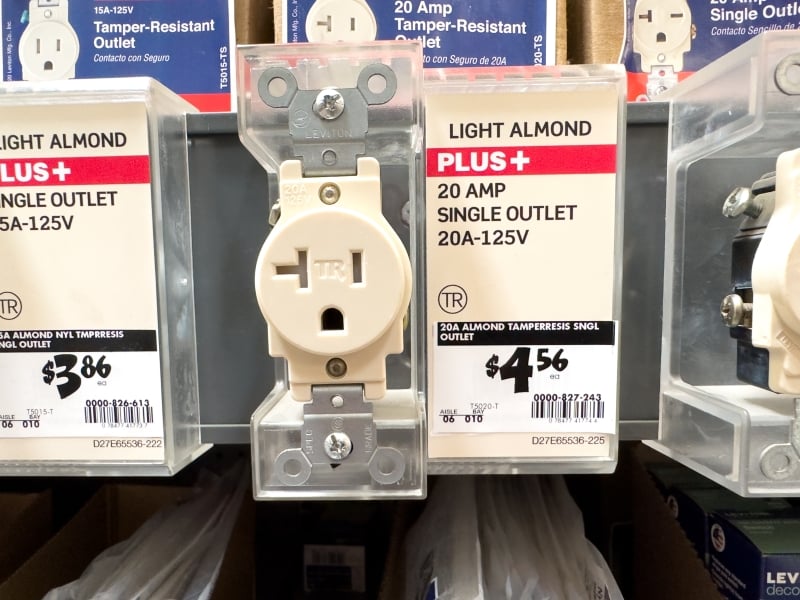
1. **GFCI Outlets:** You need to replace all two-prong outlets with ground-fault circuit interrupter (GFCI) outlets unless there’s an unused ground wire. These outlets provide built-in safety to disconnect power if a fault is detected, typically found in damp areas like bathrooms and kitchens. If there’s a ground wire, you can use a standard three-prong outlet; otherwise, go with the GFCI. Ensure you purchase outlets with the correct amperage: most are 15 amp, but some may be 20 amp, identified by a horizontal notch. Consult an electrician if unsure. Note: keep the “NO EQUIPMENT GROUND” label that comes with the GFCI.
2. **Black Electrical Tape:** Use standard electrical tape to wrap the outlet’s exterior after connection.
3. **Screwdrivers:** Have both a flathead and Phillips head screwdriver.
4. **Wire Stripper:** Needed if existing wires are damaged or too short for the new outlet.
5. **Non-Contact Voltage Tester:** This device checks if the outlet is electrified. Obtain one for safety.
Cut the power:
Always disconnect power when working with electrical outlets. If you’ve mapped your breaker panel, simply flip the breaker for the specific outlet. If not, map it first to identify the right breaker. Once cut, use a voltage tester to confirm the outlet is not live before proceeding.
Remove the old outlet:
1. **Unscrew and Remove the Faceplate:** Score around edges if needed to prevent paint removal.
2. **Unscrew Mounting Screws:** Typically found at the outlet’s top and bottom.
3. **Pull the Outlet from the Wall:** Gently pull to allow working with the connections without removing excess wiring.
4. **Unscrew the Wires:** Loosen screws to pull out the black (or red) and white wires.
5. **Inspect the Wires:** Ensure they’re free from damage and that exposed ends are sufficient for the new outlet, using a wire stripper if needed.
Install the new outlet:
1. **Attach the Wires:** Screw golden terminals to black or red wires (hot) and silver to white (neutral). Patterns vary by outlet design.
2. **Wrap the Outlet with Electrical Tape:** Cover connections with electrical tape, pulling tight twice around the outlet before cutting and pressing firmly.
3. **Insert the Outlet in the Wall:** Push back wires and secure the outlet, then replace the wall plate.
4. **Turn Power Back On:** Test with a voltage tester and plug something in to ensure functionality. If the GFCI trips, check your work.
5. **Affix “NO EQUIPMENT GROUND” Label:** This informs future workers the outlet is ungrounded and is a requirement.
It’s straightforward, and with safety precautions, an electrician isn’t necessary for this task.